
This is a guide on how to install VirtualBox on the host OS installed on your system. VirtualBox is a GUI and command-line tool that makes it possible to deploy servers, desktops, and embedded operating systems as virtual machines.
VirtualBox currently runs on Windows, Linux, Macintosh, Solaris OS, and supports other guest operating systems.
The VirtualBox software can be downloaded for free from the official website. As of the time of writing this article, the latest stable release version of VirtualBox is 6.1.32 (released January 18, 2022)
Go to the official website of VirtualBox and Click on download. For this tutorial, I am using a Windows installer.
After downloading the installer of your choice, go to the download folder and double-click the installer.
If you see a User Account Control dialog box, “Do you want to allow this app to make changes to your device?” select yes to allow the program to make changes to this computer.
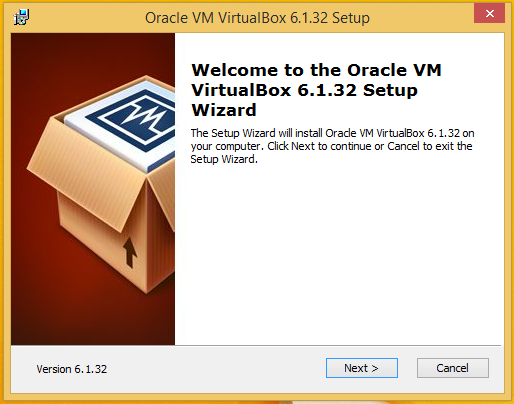
Clicking yes brings you to the next interface for you to start the setup. Select Next to start the Setup Wizard.
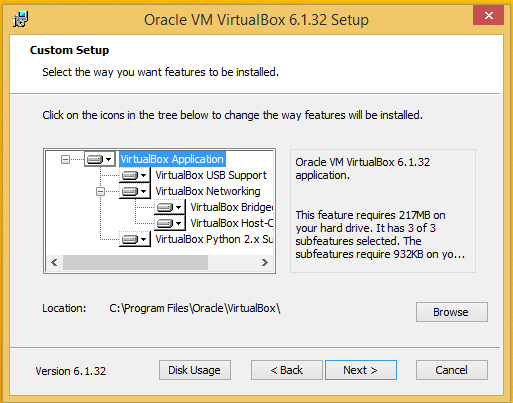
Click next, unless you want to change the default installation directory.

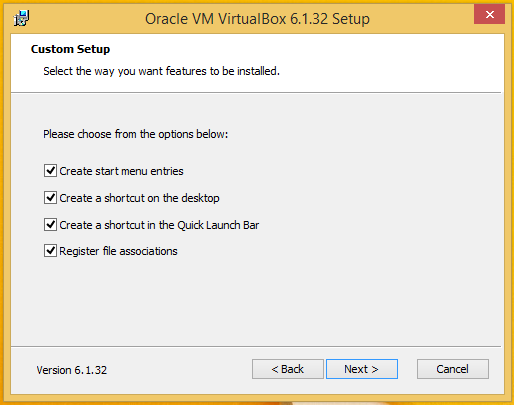
Select the shortcuts you would like to have created. Click next to continue.

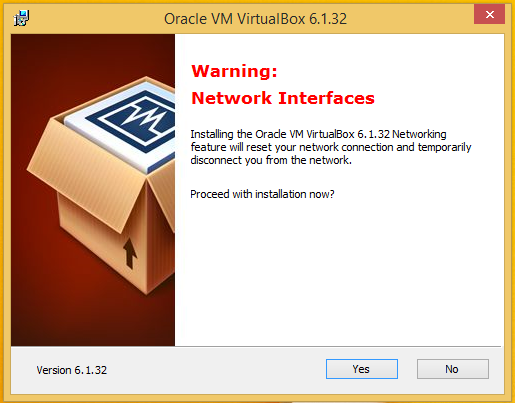
Click yes. However, there will be a warning as regards the network interfaces. And click install to start the installation process.

Once the installation is complete, click next, click finish.


You can now run the application.

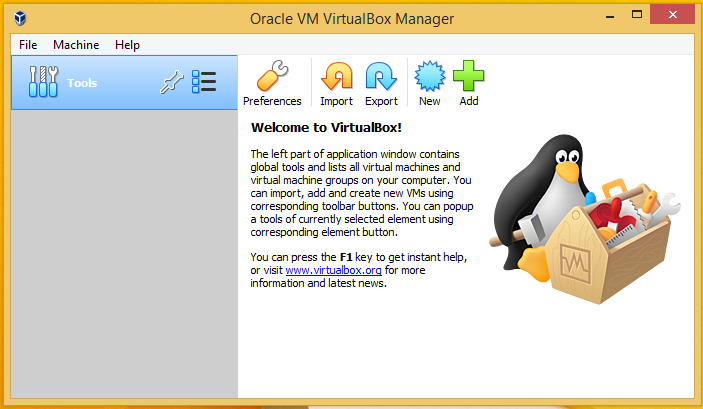
After completion of the installation process, when you will open VirtualBox it will look like as shown above.
This page definitely has all of the information I needed about this subject and didn’t know who to ask.